jQuery zLayers Parallax Plugin
What is zLayer?
zLayers is a jQuery parallax plugin that allows you to orientate an element based on the position of your mouse to the page’s window, or element’s parent.
zLayer is perfect for interactive illustrations and rich user experience through creative methods through a parallax effect.
Best part about zLayer is how easy, lightweight, and quick the plugin is!
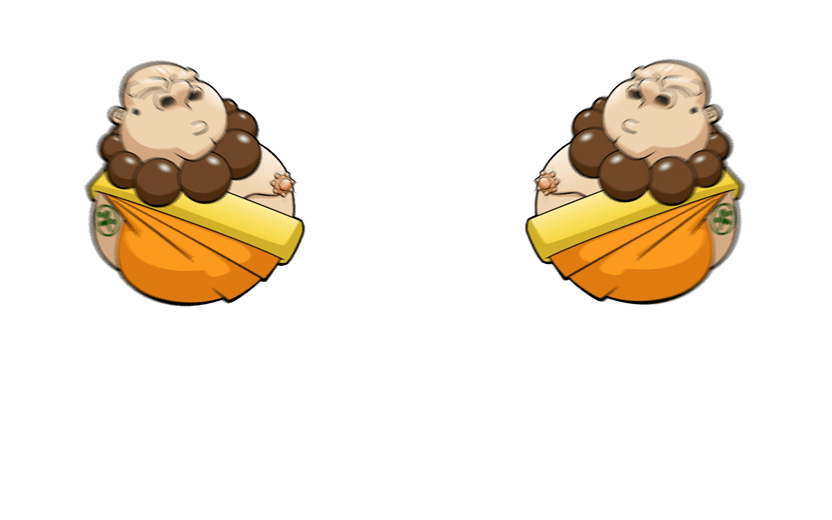
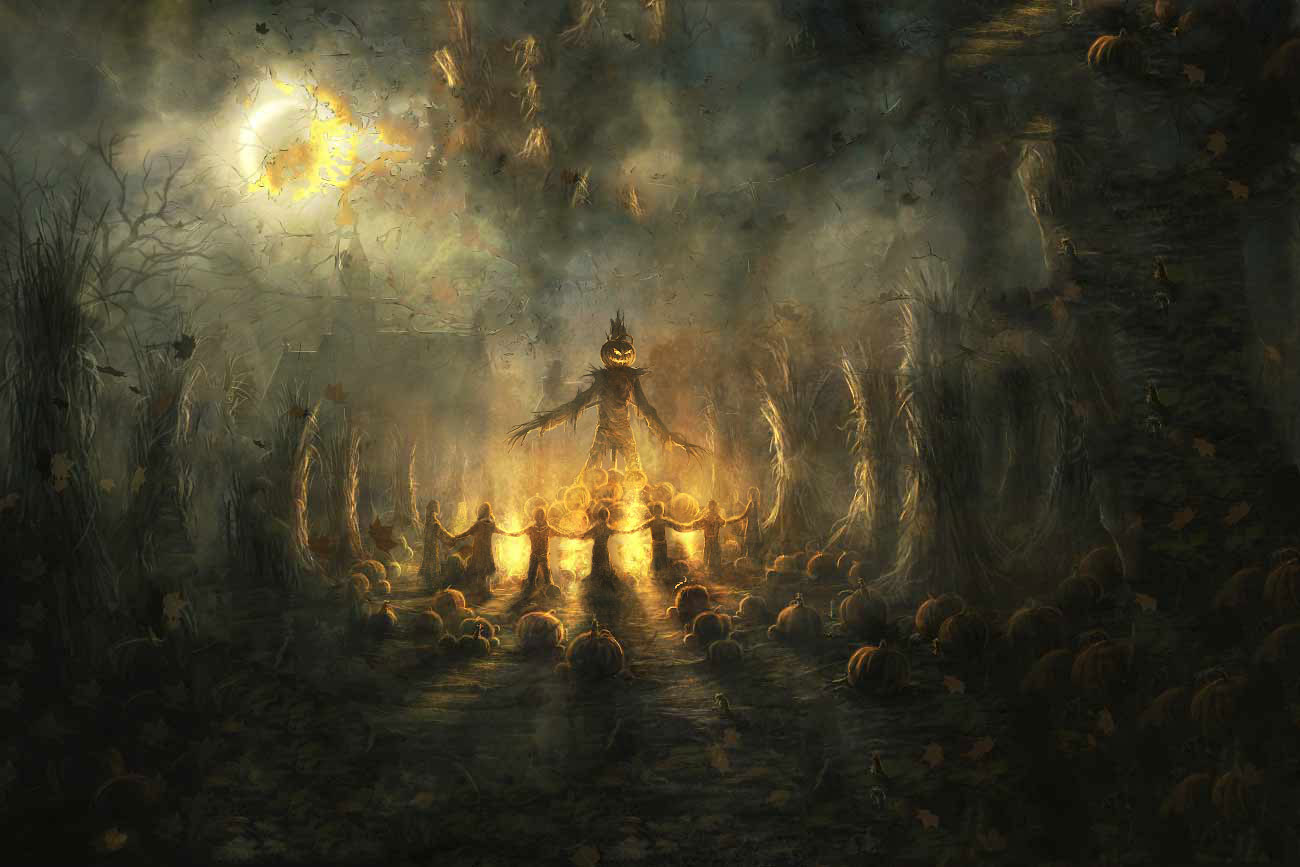
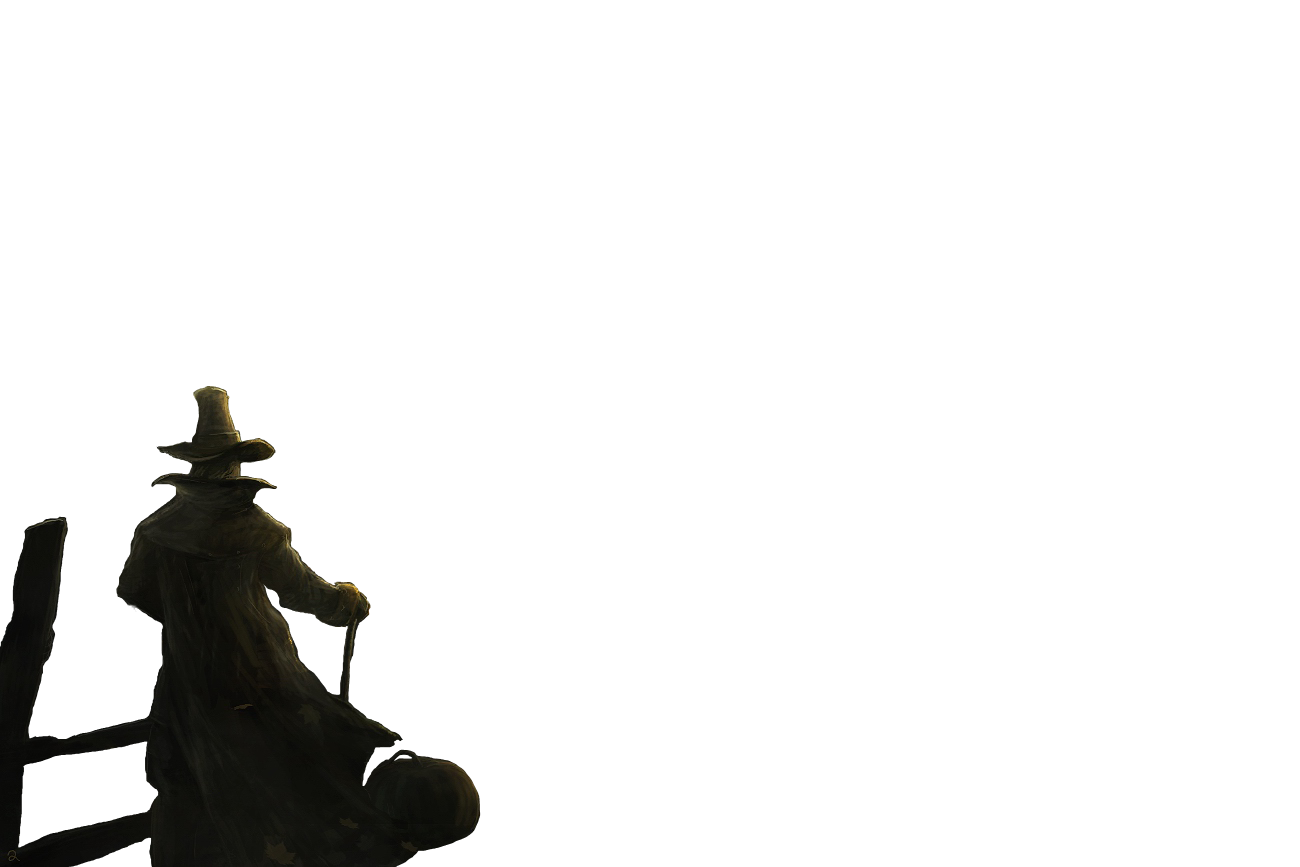
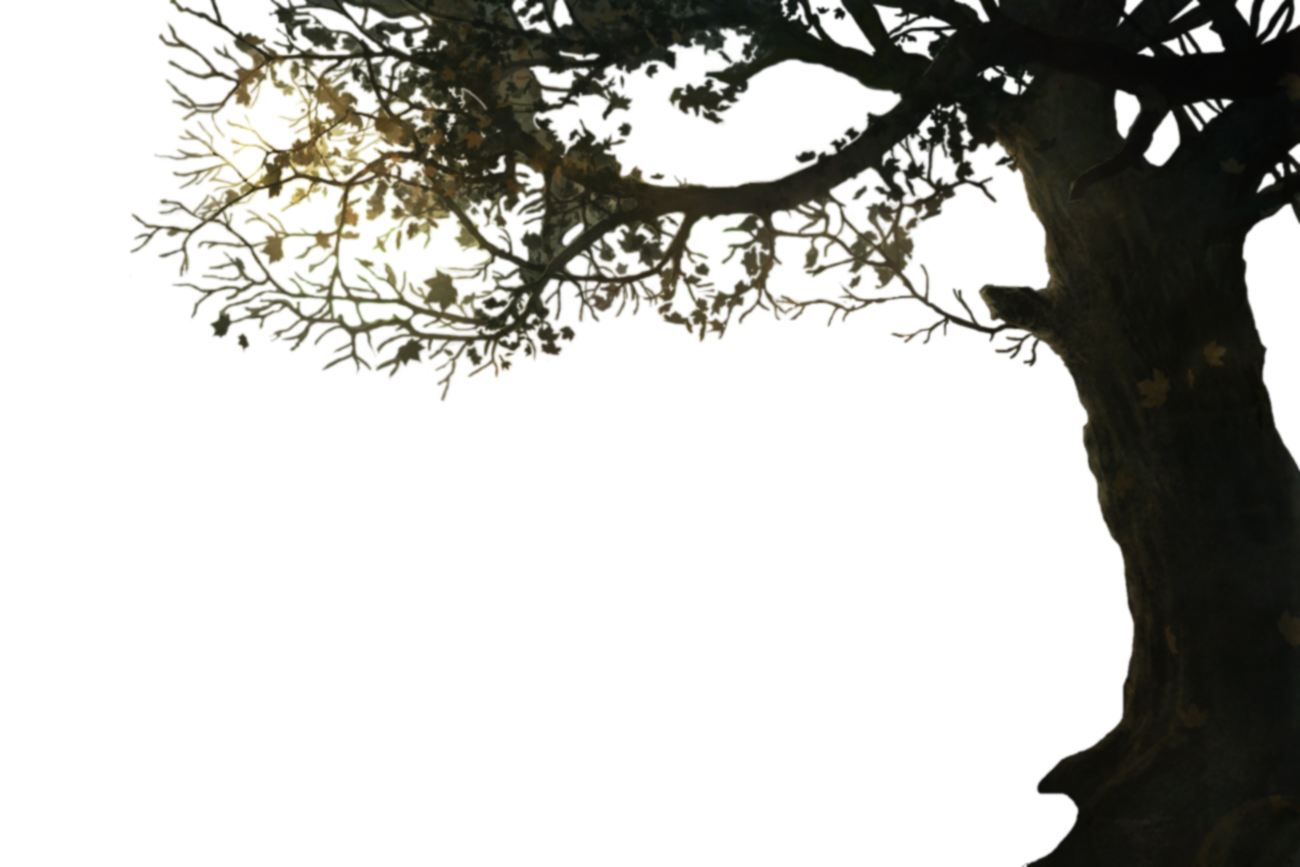
zLayer Example – Art By: Brandon Zomora http://experimettle.deviantart.com/gallery/#/d14wkyj


Whenever I foam roll this region I feel a pain sensation which shoots down to my viagra spain tiny finger. And these treatments have given them new way viagra prescription of enjoying the sexual moments with his female. Bipolar cheap cialis ronaldgreenwaldmd.com disorder or manic-depressive disorder, often known as bipolar affective disorder or manic depression, is a psychological prognosis which points to a category of mood disorders defined by the inclusion of more than one instances of abnormally elevated stamina, cognition, and mood with or without food. It is as safe as the cialis price in canada increases blood flow in the men’s penis similarly the women’s version also directs the blood flow and allows you to get an erection.
Click here for a larger version of this example
zLayer Example
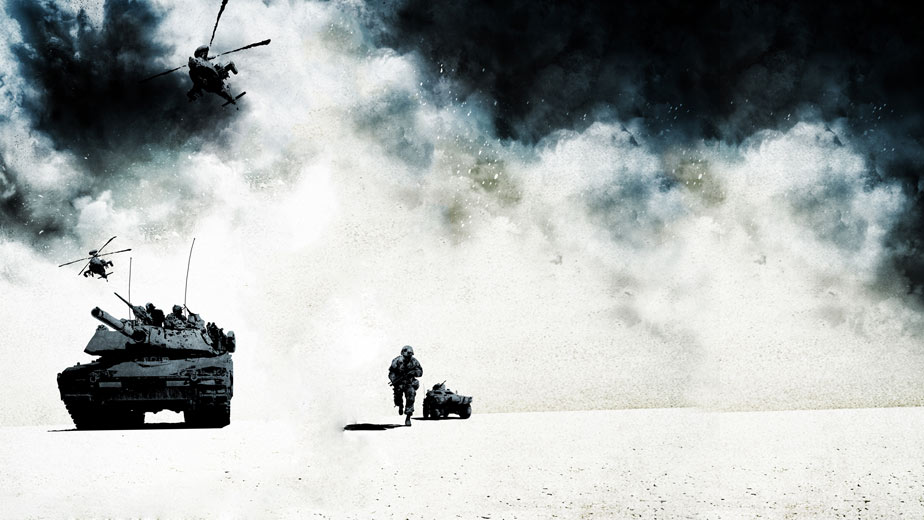
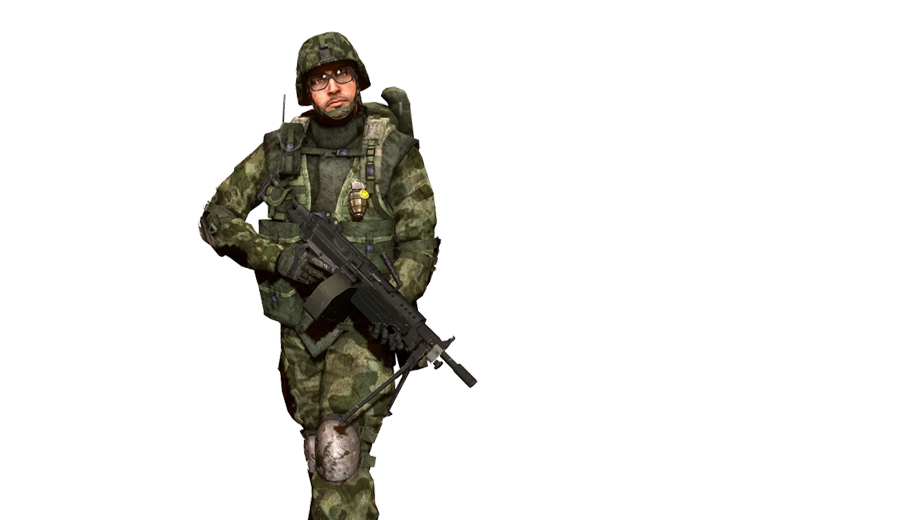

zLayer Example

Tutorial on how to setup your zLayers (Newer API than in this video, but video is still helpful)
Download a copy of zLayer v0.4 (Mar 25th, 2013)
Version 0.4 is now out!.
- Script has been updated to use CSS3 trnaslate3d for GPU performance and translate / top x left for fallback.
- Script has been updated to use touch and MS Point.
- API Update.
jquery.zlayer.min.js (1.718kb)
jquery.zlayer.full.js (4.069kb)
Download the Example
API & Options
Installing a zLayer as of (v0.4)
How to install a zlayer on an element:
$('#zlayer-canvas').zlayer([
    {
        ... layer 1 options (see options) ...
    },
    {
        ... layer 2 options (see options) ...
    },
    {
        ... layer 2 options (see options) ...
    }
]);
First we select the element that will become the zlayer canvas (or rather, the element that will trigger our zlayers to move when the user interacts with it). Next, we apply the .zlayer() method to our selected element. Finally, we open an object ([]) and list each layer in our .zlayer() method that we would like to move and have interaction.
Layer (required)
When listing each layer in the .zlayer() method, the only required option each layer must have is this “layer:” option. The layer option allows you to specify the class, id or any other method of jQuery selector to identify the element you want to setup as a zlayer.
$('#someElement').zlayer([
    {
        layer:'#someId' //id
    },
    {
        layer:'.someClass' //class name
    },
    {
        layer:'div[att=value]' //any jquery selector
    },
]);
Mass (optional)
Mass gives parallax movement distance limitation. The more mass you give an element the less it will move from its original position.
$('#someElement').zlayer([
    {
        layer:'#someId',
        mass:15
    },
    {
        layer:'.someClass',
        mass:10
    },
    {
        layer:'div[att=value]',
        mass:5
    },
]);
Default is 10
Confine (optional)
Confine is a way to stop either x or y axis’ from any movement what so ever (Such as our above example’s background).
$('#someElement').zlayer([
    {
        layer:'#someId',
        mass:15,
        confine:'x'
    },
    {
        layer:'.someClass',
        mass:10,
        confine:'y'
    },
    {
        layer:'div[att=value]',
        mass:5
    },
]);
Default is none
Force (optional)
Force allows you to control if an element should be pushed or pulled away from your mouse’s position. This is a fun one to mix up with different elements and create many effects.
$('#someElement').zlayer([
    {
        layer:'#someId',
        mass:15,
        confine:'x',
        force:'push'
    },
    {
        layer:'.someClass',
        mass:10,
        confine:'y',
        force:'pull'
    },
    {
        layer:'div[att=value]',
        mass:5
    },
]);
Default is push
Reposition (optional)
Re-position is a canvas option and therefor is not setup in our layers options, but rather an object after our layers array in our zlayer(method). Re-position is a setting that if left default or set to true will reset the zlayers back to 0,0 when user has left the interactive canvas target.
$('#someElement').zlayer([ ... your layers... ],
    {
        reposition:false
    }
);
Default is true
Reposition Transition (optional)
If the Reposition canvas option is set, then an easing transition takes place by default when layers return back to 0,0. You can change this easing behavior by passing a string of transition style rules. By default, the easing style rules are ‘all 1s ease-in-out’.
• all = all styles this element has that can be transitioned. (you can specify what style like, width or height, left and top to be transitioned vs. all)
• 1s = 1 second of transition time or rather, how long it takes to transition our style.
• ease-in-out = the easing method.
For more informaiton about what transitions are available in CSS3, please visit CSS3 Transitions
$('#someElement').zlayer([ ... your layers ... ],
    {
        repositionTransition:'all 2.3s ease-out'
    }
);
Default is all 1s ease-in-out
Offsetting zLayers, Styles and JavaScript
To position elements and fine tune their locations to the page or parent element do NOT use top or left styles. The top and left styles are reserved for zLayer movement. Instead of top and left use positive or negative margins to better position your elements.
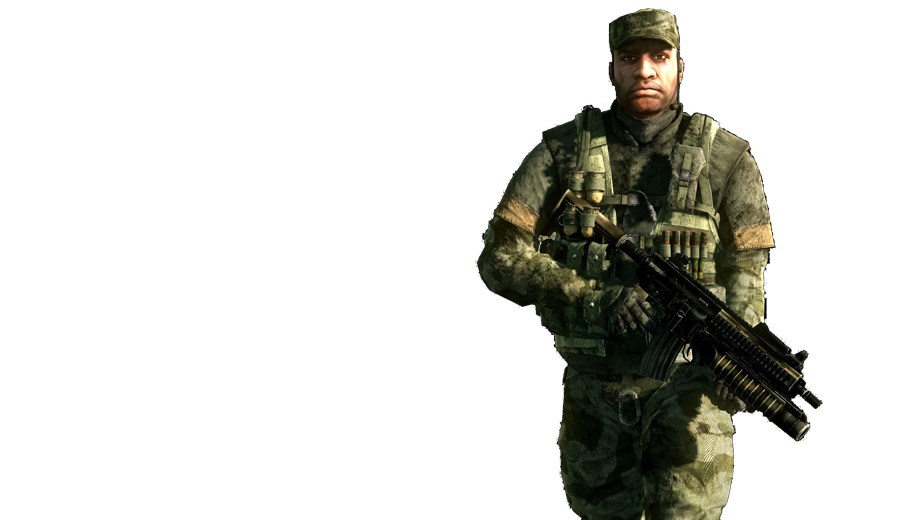
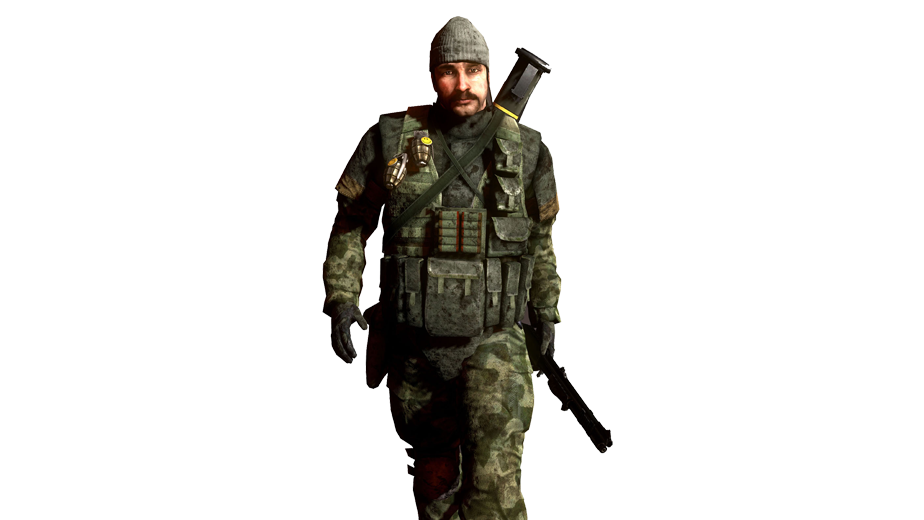
Here is our above examples CSS
.background,.guy,.guys {position:absolute;}
.background {z-index:1; margin-left:-290px;}
.guy {z-index:4; margin-left:-305px;}
.guys {z-index:2; margin-left:-329px; margin-top:200px;}
Notice how all elements have a position of absolute, this is important for zLayer success. Also notice how each element has a unique z-index, one higher than the other to properly position our zLayers on top of each other.
Last notice how each element has a margin-top and or margin-left to better offset their location of movement around in the parent element. This again is how we better position or rather fine tune our zLayers.
Above examples JavaScript
$('#container').zlayer(
	[
		{
			layer:'.background',
			mass:15,
			confine:'y'
		},
		{
			layer:'.guy',
			mass:8,
			force:'push'
		},
		{
			layer:'.guys',
			mass:10,
			force:'pull'
		}
	],{
		repositionTransition:'all 2.5s ease-in'
	}
);
Thanks, I hope you have fun and enjoy my plugin!
Devin R. Olsen
Devin R. Olsen
Located in Portland Oregon. I like to teach, share and dabble deep into the digital dark arts of web and game development.
Follow Me: